Most NuShield customers have issues with window glare, making areas of the screen impossible to see from different angles. NuShield has developed the anti-glare film to help reduce the reflection and make viewing from all angles possible. The NuShield AG film works for monitors and TVs up to 48 inches diagonal and the NuShield Triple A and DayVue films work for monitors and TVs up to 80 inches diagonal.
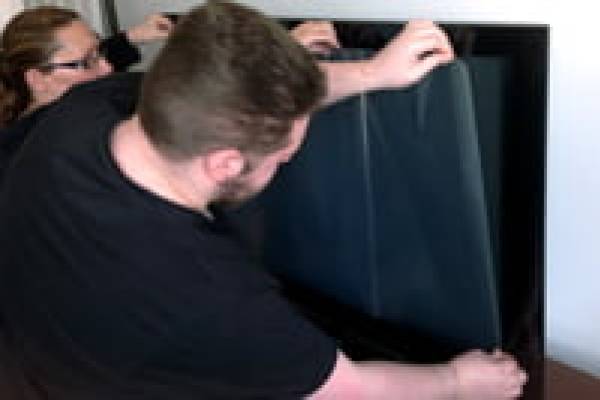
Larger size films with adhesive backing require greater care and attention during installation. It is recommended that at least two people install the film on sizes larger than 15 inches diagonal. One should hold the film and the other should align it onto the screen surface and smooth out any bubbles. If there is a problem, the film can be easily lifted up and repositioned without damaging the film or leaving a residue behind on the display. If possible, place the device flat with the display side up before you start in an area where there is minimal dust or wind that might deposit dirt specs onto the display. Also, you should place the film over the area to be covered to make sure that the film fits correctly before removing any protective liners. If the film does not fit correctly, contact NuShield before proceeding.
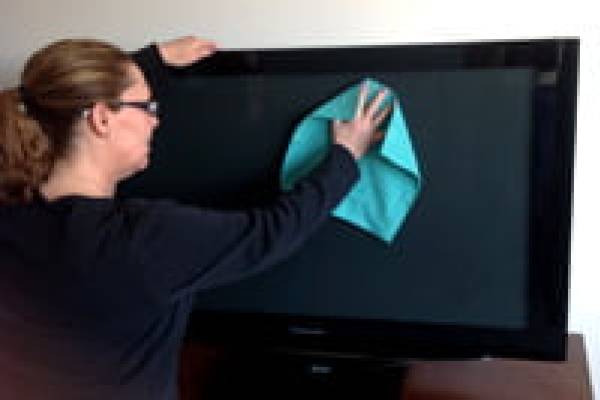
Before you begin, it is important that you clean the surface of the display with a damp, clean, soft cloth or use the Klear Screen wet cloth. This will remove any fingerprints and dirt specs and help the film better adhere to the display. Wipe all areas of the screen, especially the edges and corners. Dry the screen with a soft dry cloth or use the Klear Screen dry cloth.
Film Installation
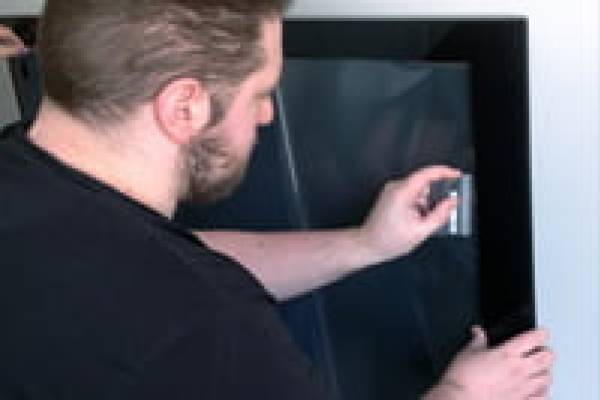
It is recommended that the person installing the film wash their hands and fingertips with soap and water to remove any oils then dry. Have the other person holding the film partially pull back the mask covering the tacky side using the tab that says Step 1. The installer needs to guide the film and place the exposed surface onto the display, making sure that the film is aligned correctly. It is recommended that you start on the shorter side and work your way across the display surface.
Slowly attach the film onto the display while pushing out any bubbles that may form. You can use your hand or a flat surface such as a credit card to smooth out the film. Air bubbles that will not move or edges that lift are likely due to dirt trapped under the film. Please see the bottom of this page for instructions on how to remove dirt particles.
Once you completed installing the first third of the film without bubbles or dust particles and are confident that the film is aligned correctly, you can expose the next third of the protective mask and continue the installation. If you find that the film is out of alignment, pull up the film, reposition and reinstall it. Once the second third is completely installed, pull off the remainder of the protective mask and install the rest of the film. You don’t have to smooth out all bubbles at this time. Smaller bubbles will be absorbed by the heat from the screen over a 48-hour time period.
Once you are happy with the installation, you can remove the top protective film by pulling back on the tab labeled Step 2. You should now have a fully installed screen protector.
Removing Dirt Particles
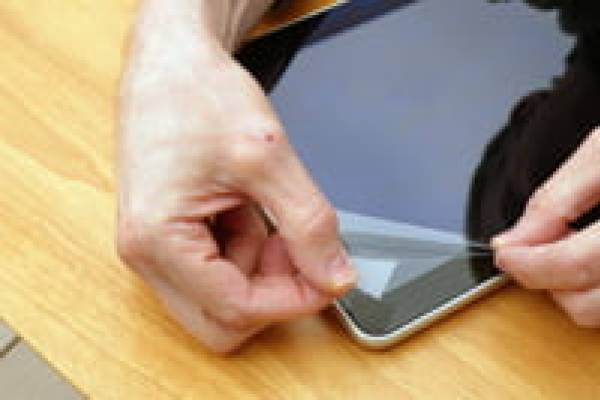
If you find that there is a spec of dirt trapped between the film and the display screen you can easily lift and clean the film to correct this issue. Gently lift the corner of the film near the dust particle using a piece of adhesive tape, being careful not to damage the backside of the film. Using a small piece of adhesive tape, gently touch the film with the tape to pick the dust particle off the tacky surface or the display depending on where the particle is located. After the particle is removed, lay the film back onto the display and push out any bubbles that might form during this process. You can do this as many times as required to remove all specs.

